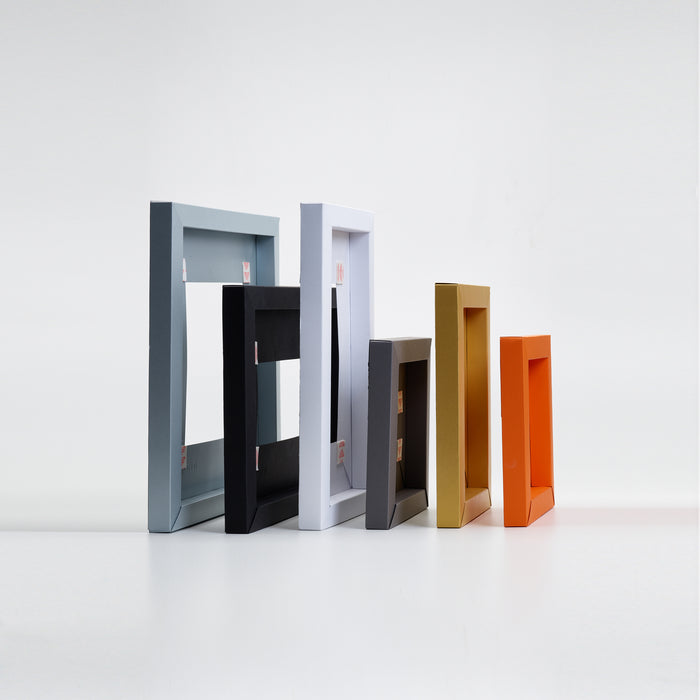
How to make a Pop-up Frame
-
![]()
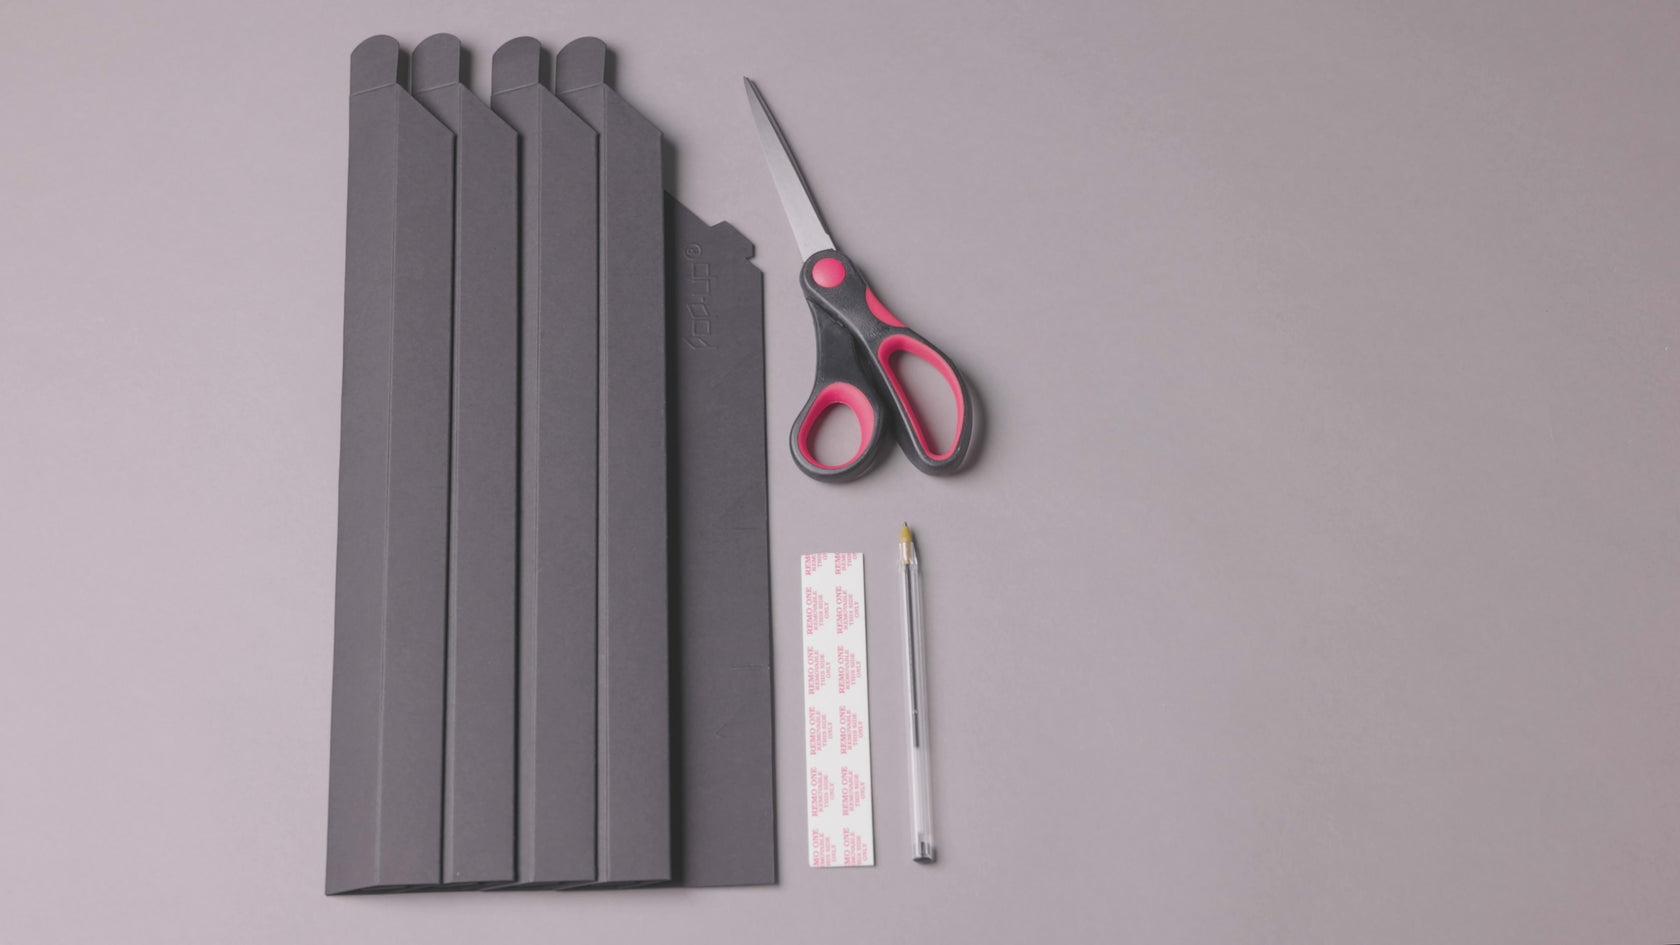
Prepare your workspace
In each pack you’ll find 4 side pieces
and 5 sticky tabs. You’ll need to find
a clean surface, a pen or pencil and
pair of kitchen scissors. -
![]()
Measure your artwork
Every Pop-up Frame can be cut to a set number of sizes. Refer to the instructions or our size calculator to determine what lengths best suit your artwork.
-
![]()
Cut the 4 sides of your frame
There are cut lines on each side piece indicating the internal lengths in centimetres. If you're making a square frame, all 4 sides need to be the same size. For a rectangular frame, you need 2 pairs that are the same size.
-
![]()
Lay out your frame
Position the 4 pieces in the
shape of your final frame — just to
ensure you don’t join the wrong
sides together. -
![]()
Connect your first corner
Slot together your first two sides so that the diagonal end of one side sits on top of the square end of the other. Gently slide the corners together while tucking in the
corner tab with your finger. -
![]()
Pop in the interlocking tab
Holding the two sides in place carefully flip the frame over so that the back faces upwards. Firmly push a pen or pencil into the square outline to lock the corner in place.
-
![]()
Stick the corner mount in place
Carefully flip the two sides back over again and check they’re squared-up. Peel off one of the supplied sticky pads and stick it down across the diagonal as shown with the removable side facing upwards.
-
![]()
Connect more sides
Repeat these instructions until you get to the final corner, remembering that the diagonal end always sits on top. Adding the fourth side can be a bit fiddly — first slide together both corners and tuck in the corner flaps.
-
![]()
Mount your artwork
The stickers you just applied to each corner are double sided. Peeling away the protective layer of the corner mounts, place your artwork inside the frame and press firmly to secure it in place.
-
![]()
Add the final hanging mount
Centre the remaining sticky pad on
the back as shown to hang your
frame on any wall. You can remove
or reposition your frame by gently
twisting it off the wall. -
![]()
Other display possibilities
For heavier artworks, there are centred holes on the rear of the frame so you can hang using a small nail or push pin. Alternatively, make your own table-top mount by inserting a pencil.
-
![]()
Mount your frame on the wall
Apply another mount to the back, remove the peel & stick protective layer, and press your frame to the wall.


Watch a video assembly
You can also download a pdf of our instructions here or drop us a message and we'll be happy to help.